Now it is time to build our store. We will walk you through some of the aspects of page creation. We will begin by discussing templates and themes.
Google Sites allows users to build a website in the cloud using just a web browser. The site editor as well as all of the content lives in the cloud on Google’s servers. Google Sites is free to Gmail account holders. Sign up for a Gmail account if you do not have one already.
Sites is located under the More menu of your Gmail account. You need to pick a unique site name. One way to make it unique is to add your Gmail username as a prefix or suffix to your site name—e.g., FrostCoolApp or CoolAppFrost.
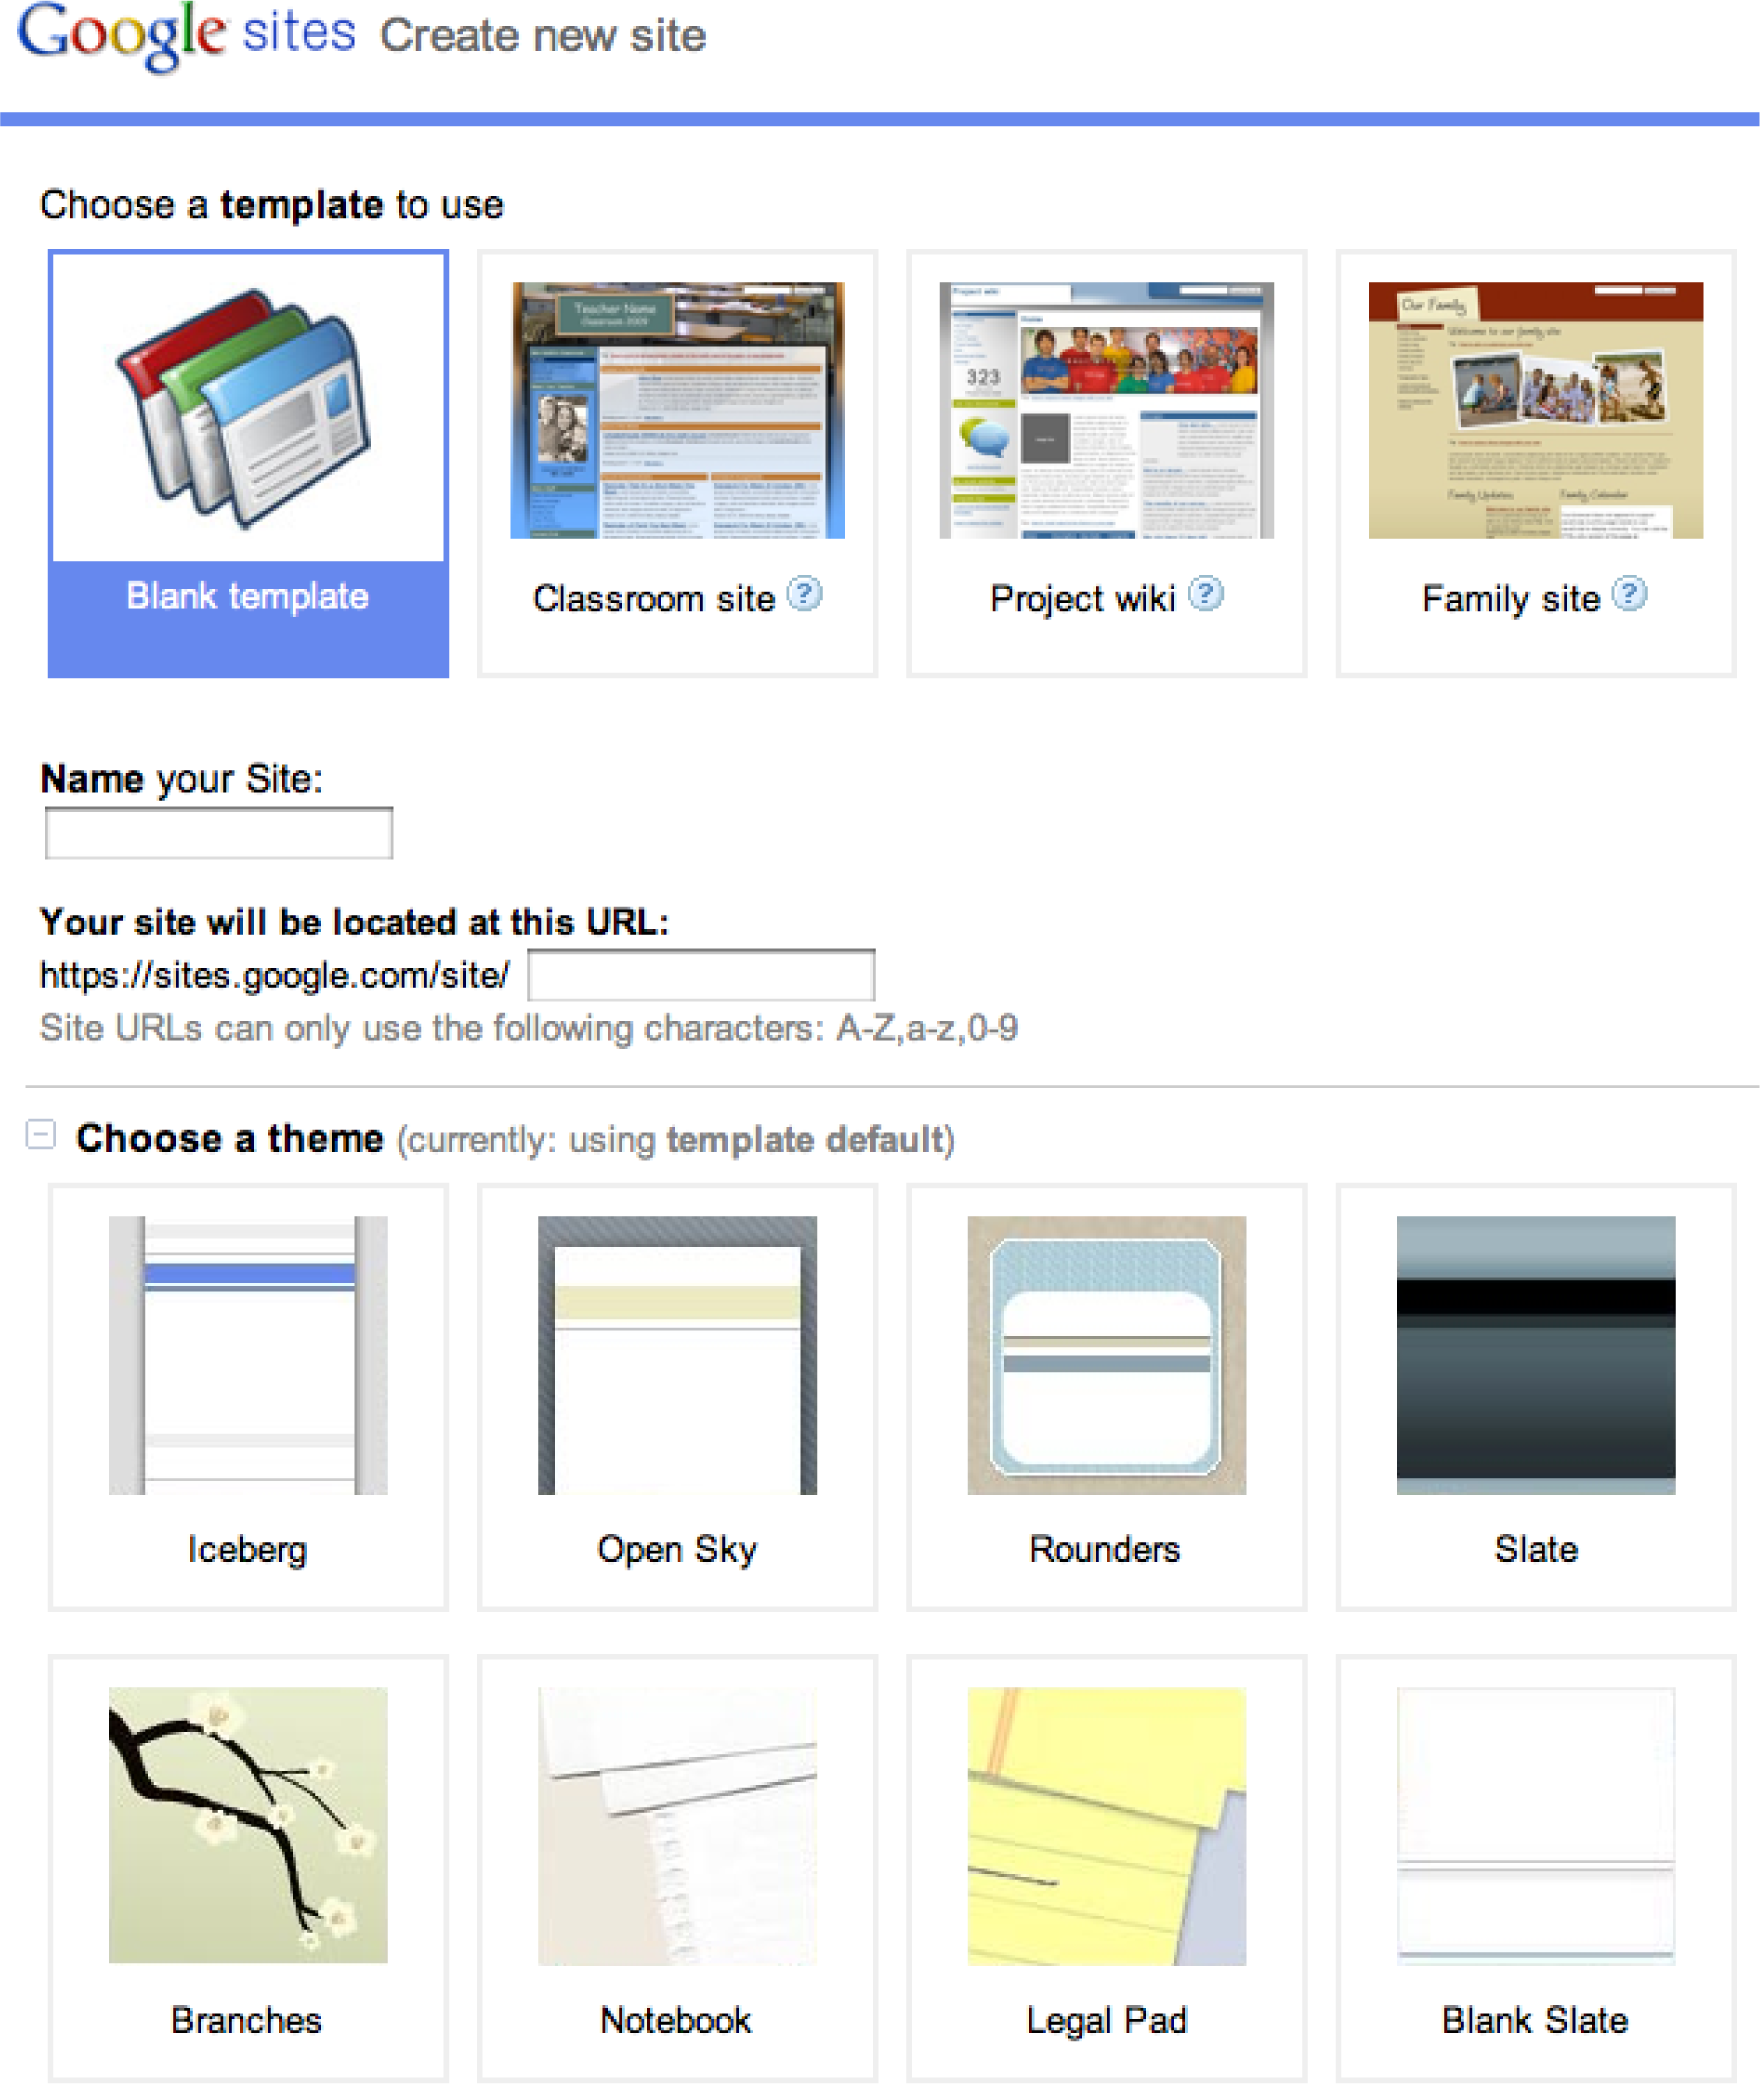
A site templateA pre-built site with placeholder text, images, and a pre-selected theme. Site templates are the closest thing to an instant website. is a pre-built site with lorem ipsum (Latin gibberish) placeholder text and images. Each page is already laid out. For example the Family template has Family blog, Family calendar, Family map, and so forth. Template users simply swap in their own content.
Site templates are provided for different types of applications such as a classroom or small business. While some of the templates are pretty slick, we will begin with the Blank template in order to learn Google Sites. The Blank template contains only a home page with a simple theme. You add pages to the Blank template as needed.
The themeSimilar to a template but without the placeholder text and images. A theme specifies formatting—layout, colors, and fonts. is similar to a theme in PowerPoint. Every page in the site derives its look and feel, layout, colors, fonts, and so forth from the theme. You must pick a theme in the same family as the Class Store website since your site is part of the store. It is easier to pick a Theme when you create the site but you may change it later by accessing:
More Actions > Manage Site > Themes
<< Return to Site

Google Sites opening screen allows you to choose a template, name for your site, and a theme. For our purposes we will stick with the Blank template so that we learn to build a site from scratch.
The built in templates and themes are a good start. However, you will want to control the look and feel of the site to match your corporate standards and the brand.
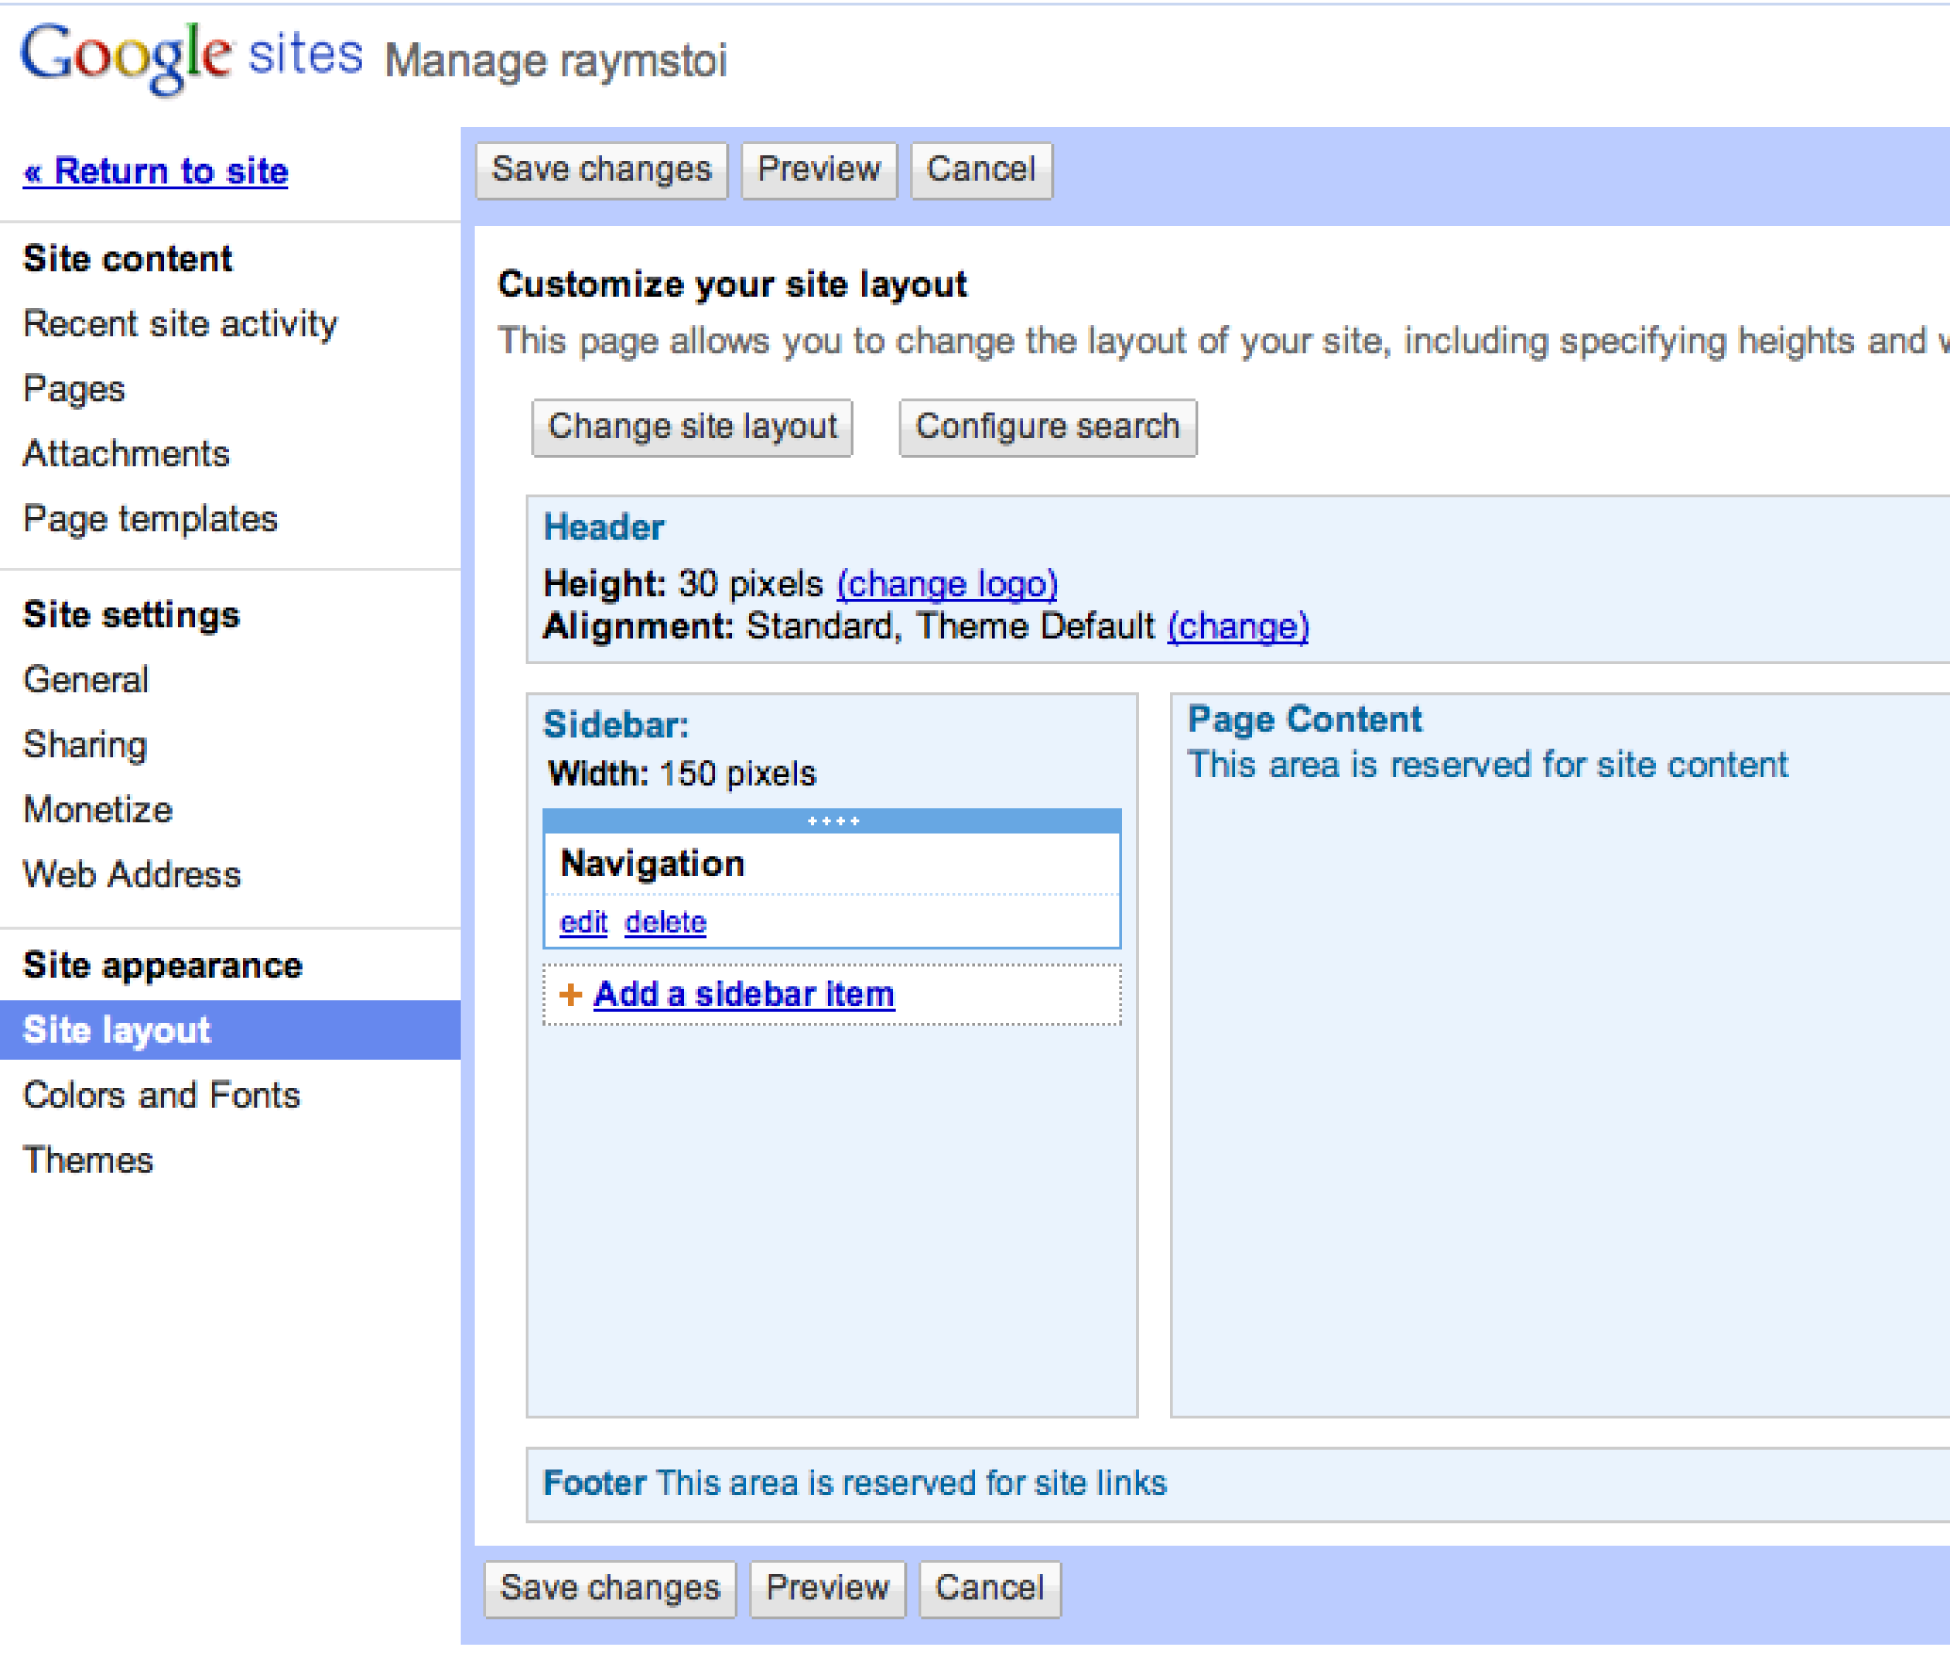
While the theme is a good start, you may want to tweak the theme on your site much as you might modify the Master Slide in PowerPoint. Modify items such as the Header and Sidebar, which show on every page. Modify background colors and fonts for the different regions of the page if necessary.
More Actions > Manage Site
> Site Settings > General > Site Name .... > Save Changes
> Site Appearance > Site Layout ..... > Save Changes
> Site Appearance > Colors and Fonts
<< Return to Site
When working with colors and fonts it is helpful to understand that a web page is made up of a number of layersWebpage elements that lie on top of one another to create a layered look on the page. stacked on top of one another. Here is the order of the layers beginning with the Page Background on the bottom.
Google Sites was constructed to support workgroup collaboration. Therefore it has some interactive prebuilt page templates (Announcements, File Cabinet, and List). You will probably stick with the simple Web Page templateAn unfortunate reuse of the word template—page template refers to whether or not a given page will have collaboration elements on it—e.g., allowing users to post comments on the page. By contrast, the site template described earlier refers to the layout and pages of the entire site. for most pages. Unfortunately, even this template sometimes allows user to attach files and post comments to individual pages. You will have to turn this feature off as described below.
Select template for page. More Actions > Change Page Template
Eliminate user attachments and comments
In edit mode the content areaThe portion of the page where you write your content. You can specify layouts for each content area—e.g., a three column layout. of each page can be edited. In our experience the layout is best controlled by inserting tables to contain the content.

The Manage Site menu has powerful options that control the look and feel of the site. Changes made from this menu affect every page in the site.
Add text to the pages. Be consistent on formatting throughout site. Choose appropriate headings styles. Choose appropriate font sizes if necessary.
Before you can add images you need to save them and prepare a place on the page to receive the images. When using images from your iPhone app you can save them in two ways. You can right click on the image and save it as a PNG file. (You may have to group it first). Alternatively, you can take screen shots of your app.
To prepare the page to receive images, insert a table to receive the images. Then Insert > Image. Resize and align images in their table cells as necessary.
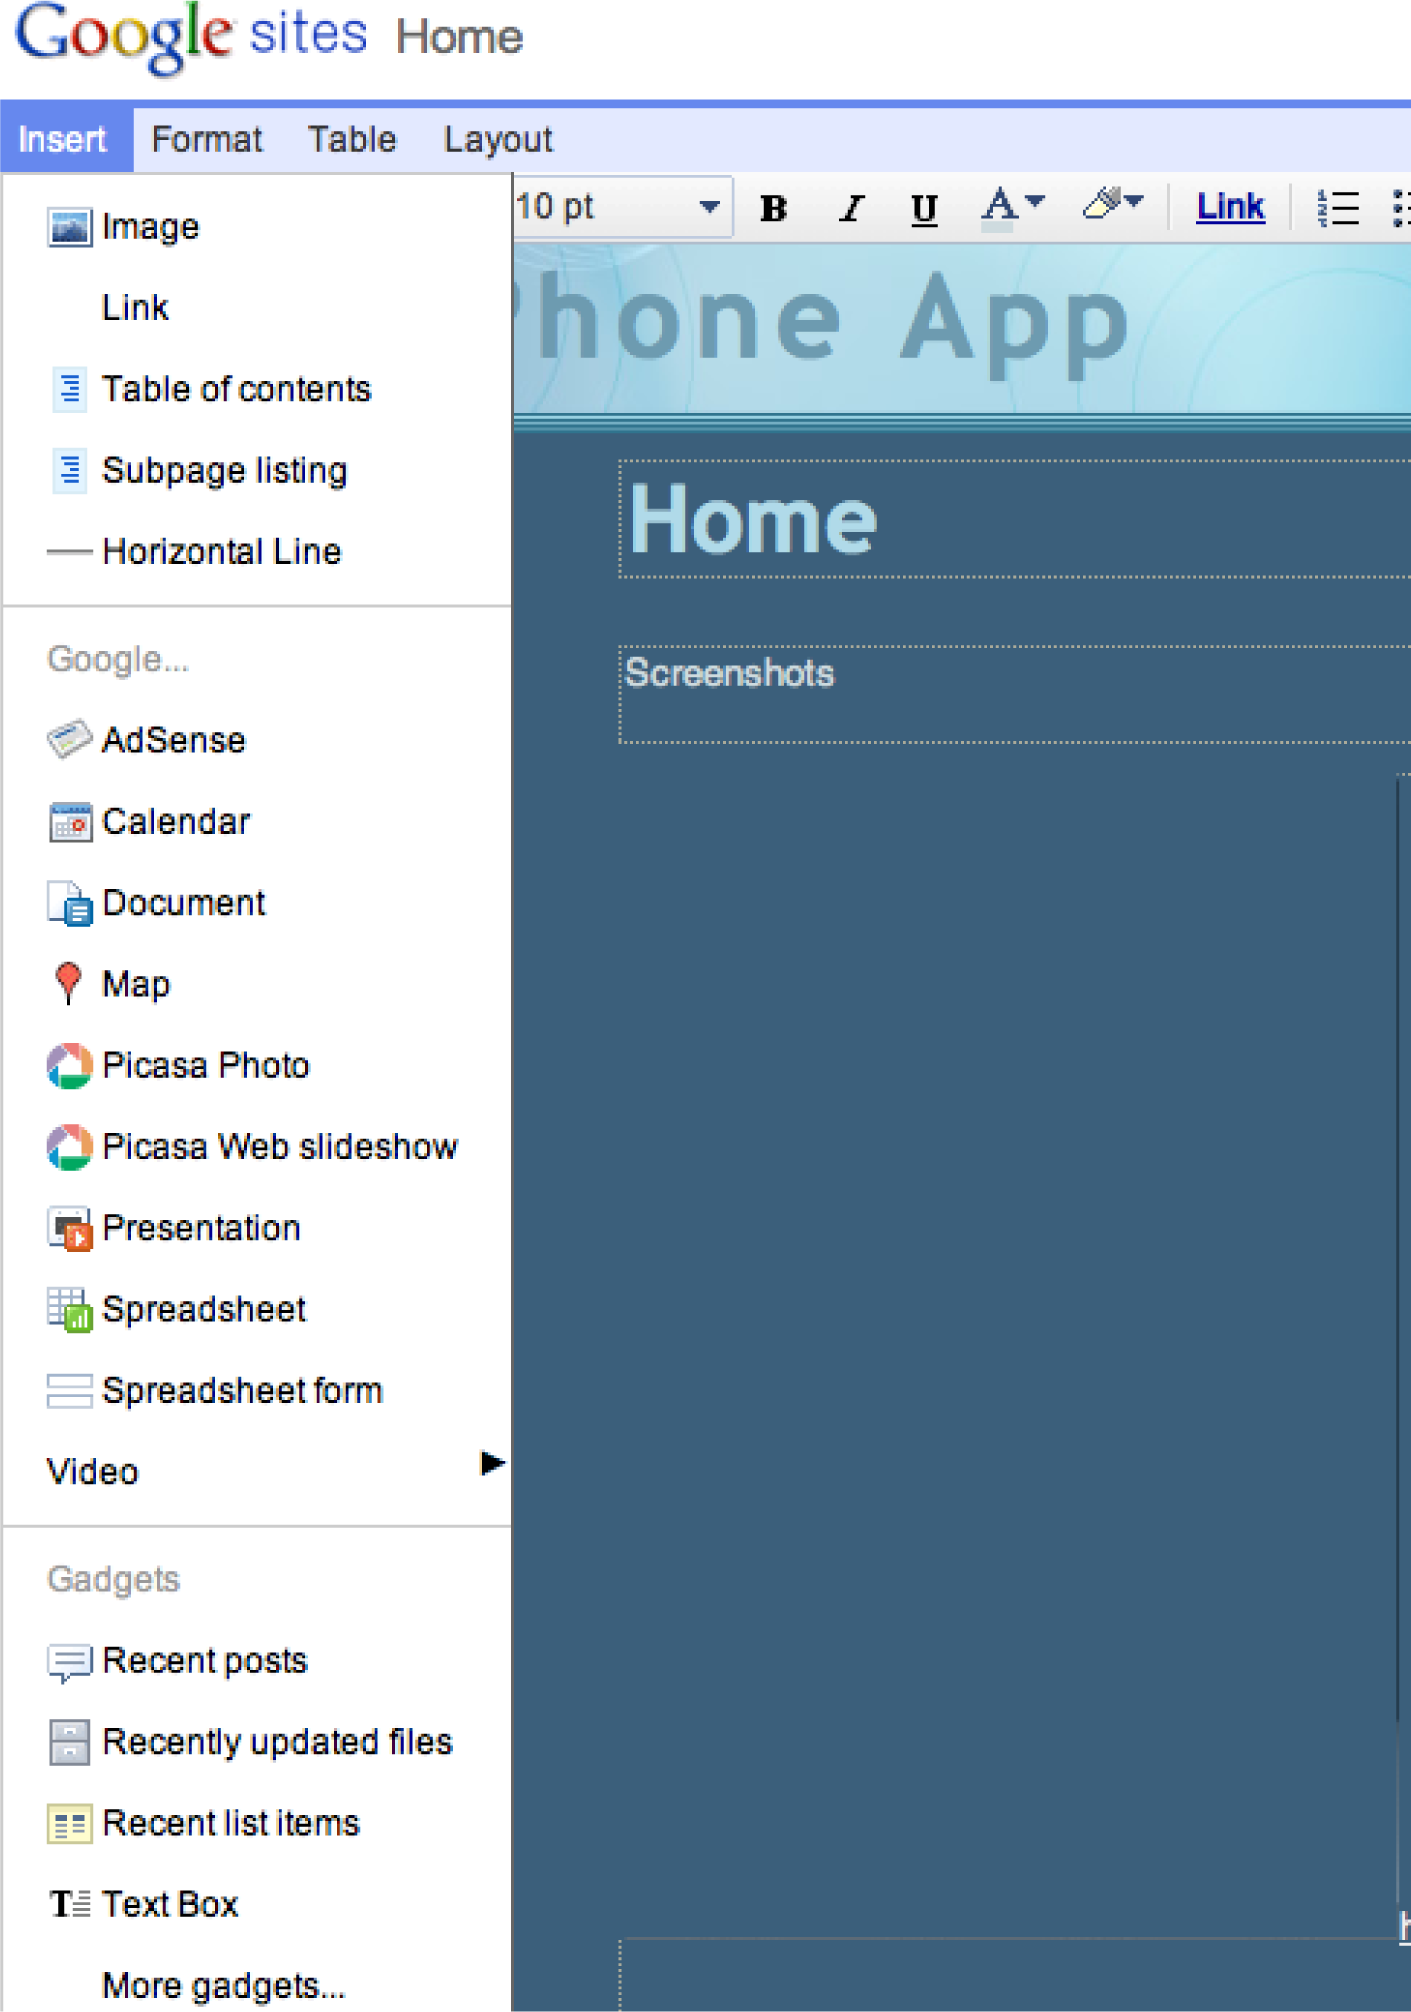
GadgetsMini services that exist in the cloud and can be snapped into your webpage. For example, you can include a weather gadget. can add tremendous functionality to a page. We will use a gadget that captures customer information for customers who sign up for product updates. The gadget is a form that saves to a Google Docs spreadsheet. Google Docs is yet another free Google service that allows you to store and collaborate on documents in the cloud. You access Google Docs by clicking on the Documents link at the top of your Gmail account. Create and save a Form in Google Docs. Documents > Create > Form. Then insert the Form in your web page. Edit Page > Insert > Spreadsheet Form. To test, try visiting the page and filling out the form with some test data. Then return to Google Docs to view the spreadsheet of customers.
There are many other gadgets available from the Edit Page menu including the ability to embed YouTube videos.

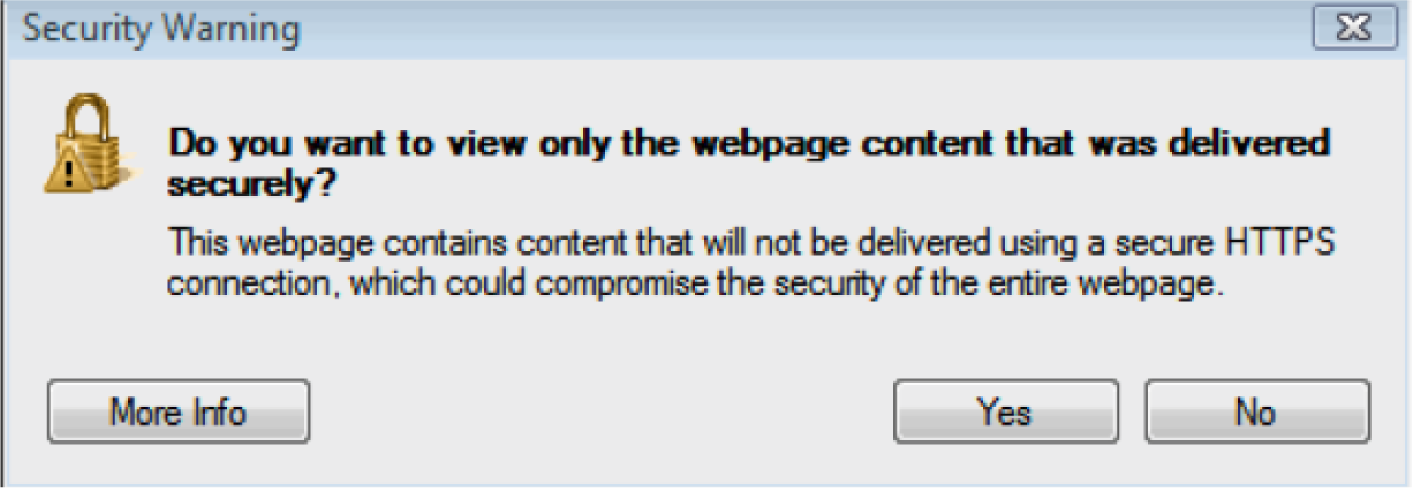
The Insert menu is used to insert images and gadgets. If you get the following error message when inserting a gadget answer NO, otherwise you get only part of the gadget—the part that can be delivered securely.
